Step-by-Step Guide: Install the Hydrofast W100 Countertop RO Water Filter
Welcome to the Hydrofast family! We're thrilled you've chosen the W100 Countertop Reverse Osmosis Water Filter to bring cleaner, safer, and better-tasting water right to your home. This guide will walk you through the simple, step-by-step process of installing and activating your new water purifier, ensuring you can start enjoying its benefits as soon as possible.
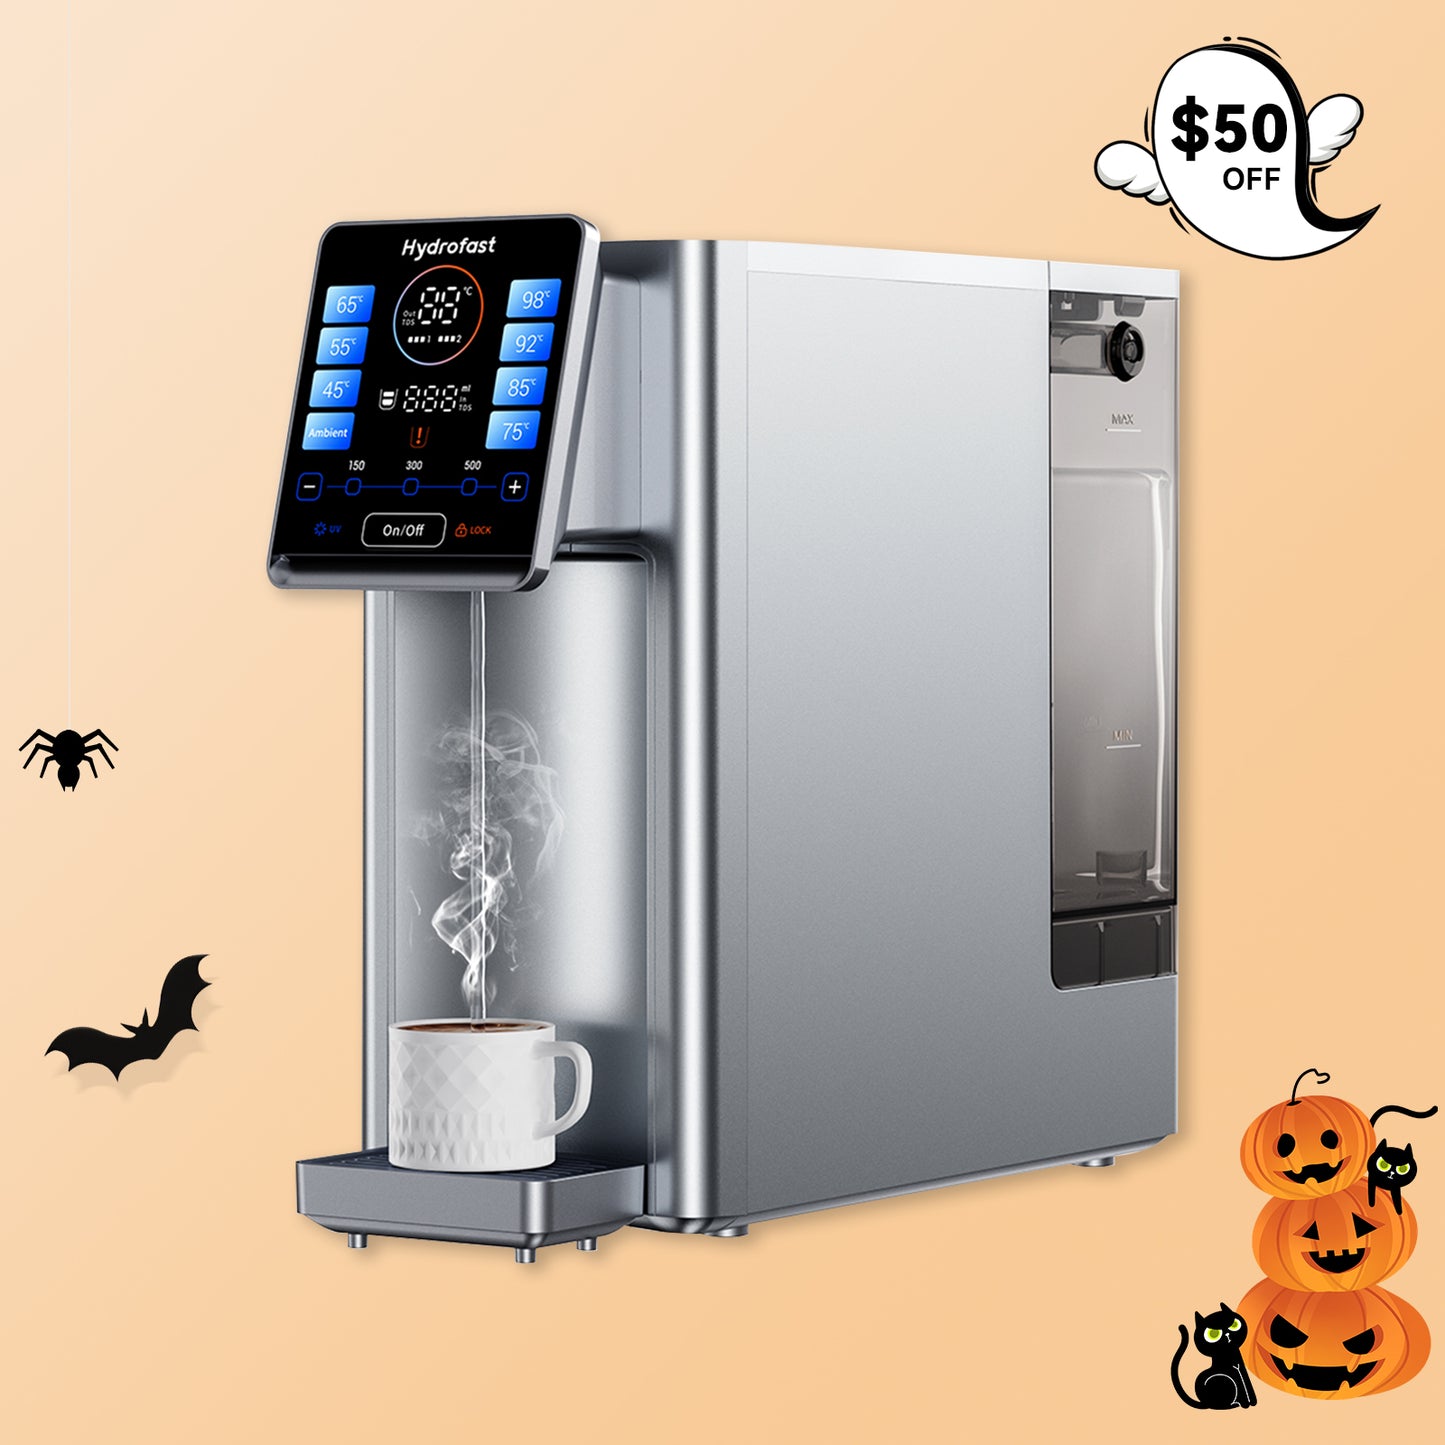
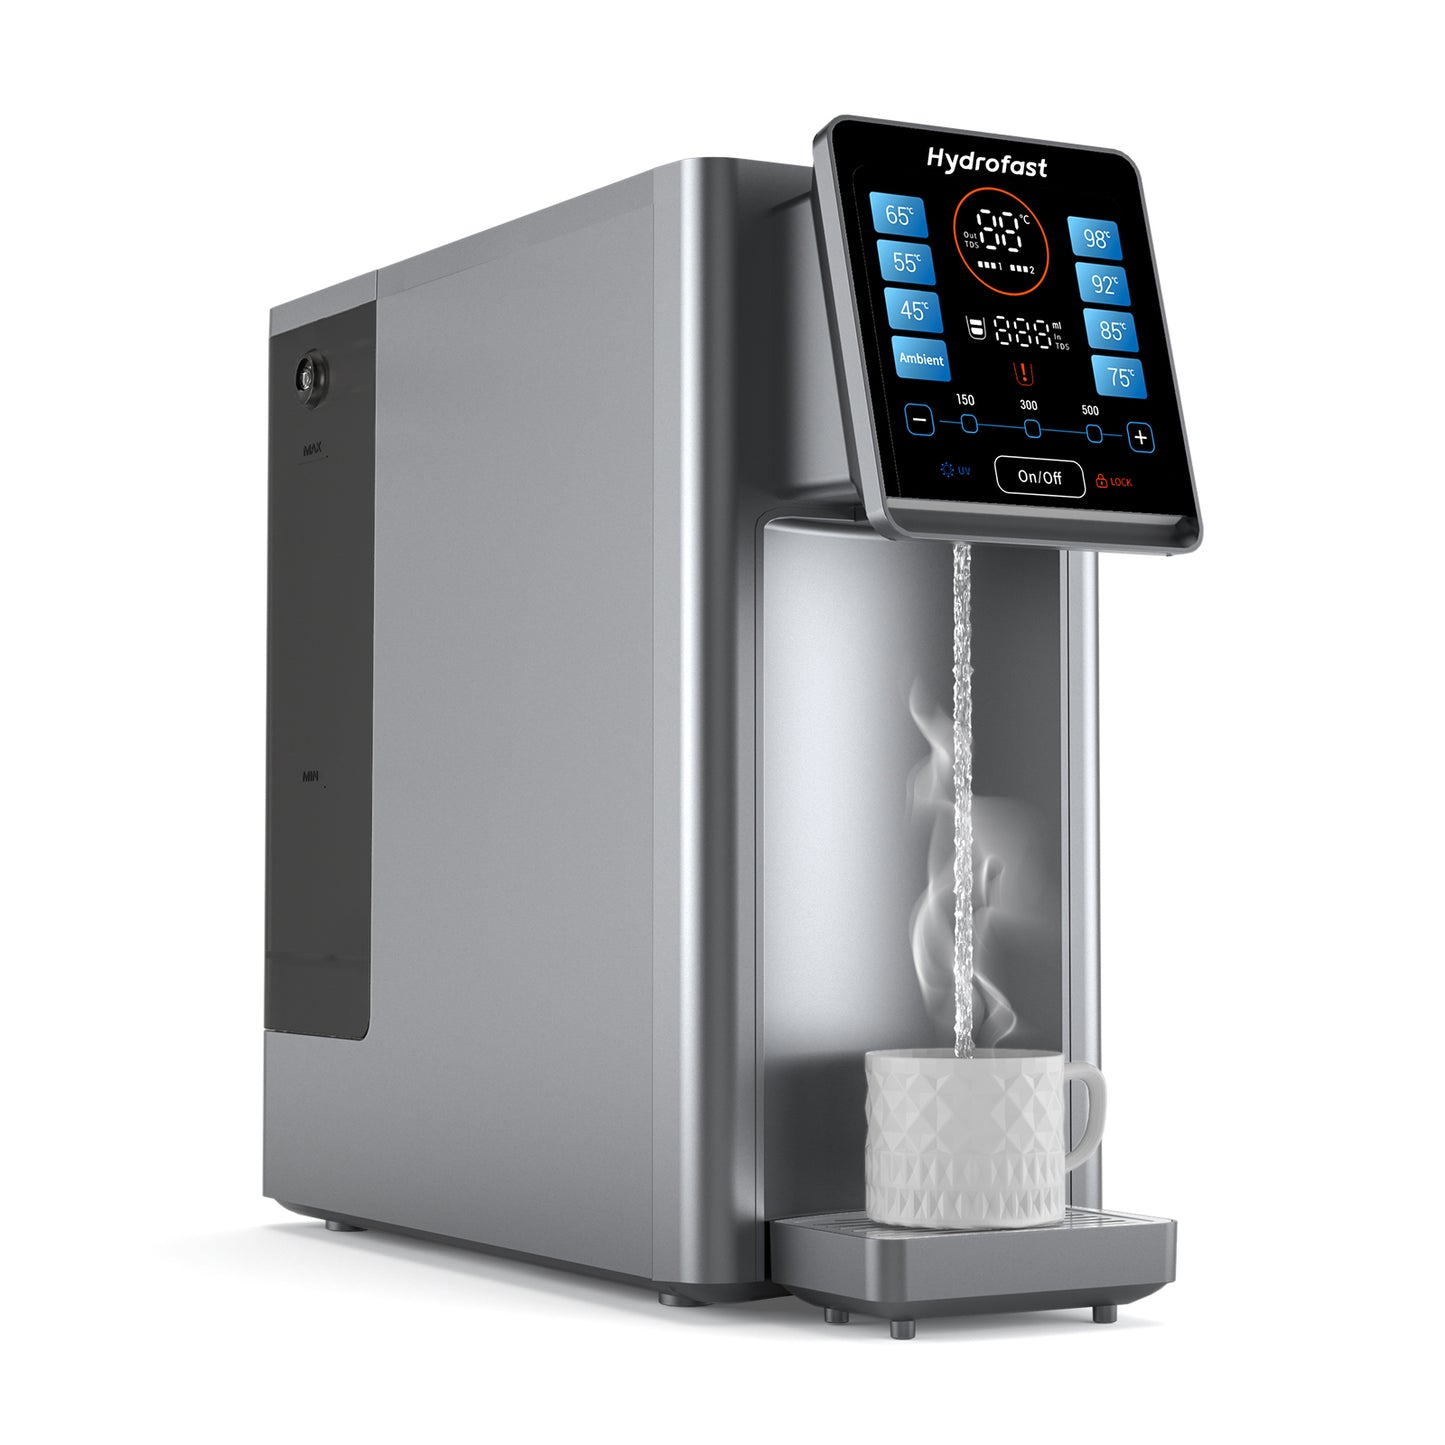
The Hydrofast W100 is a household reverse osmosis system designed to be convenient and easy to use. Unlike under-sink systems, the W100 sits directly on your countertop, requiring no complex plumbing or permanent installation. All you need to get started is the main unit, the included filters, a power source, and this user manual.
Before you begin, please take a moment to read the user manual carefully and keep it for future reference. Following the instructions strictly will ensure your safety and the proper function of the machine
Unboxing and Product Overview
Your Hydrofast W100 package should include the following items:
- Main Unit x1: The water purifier itself.
- Filter x2: The two essential filter cartridges (HF03 Composite Filter and HF02 RO Filter).
- User Manual x1: This guide is your friend! Keep it for future reference.
Familiarize yourself with the key parts of your W100:

- Raw Water Tank (8): The large tank on the right side of the machine, where you fill tap water.
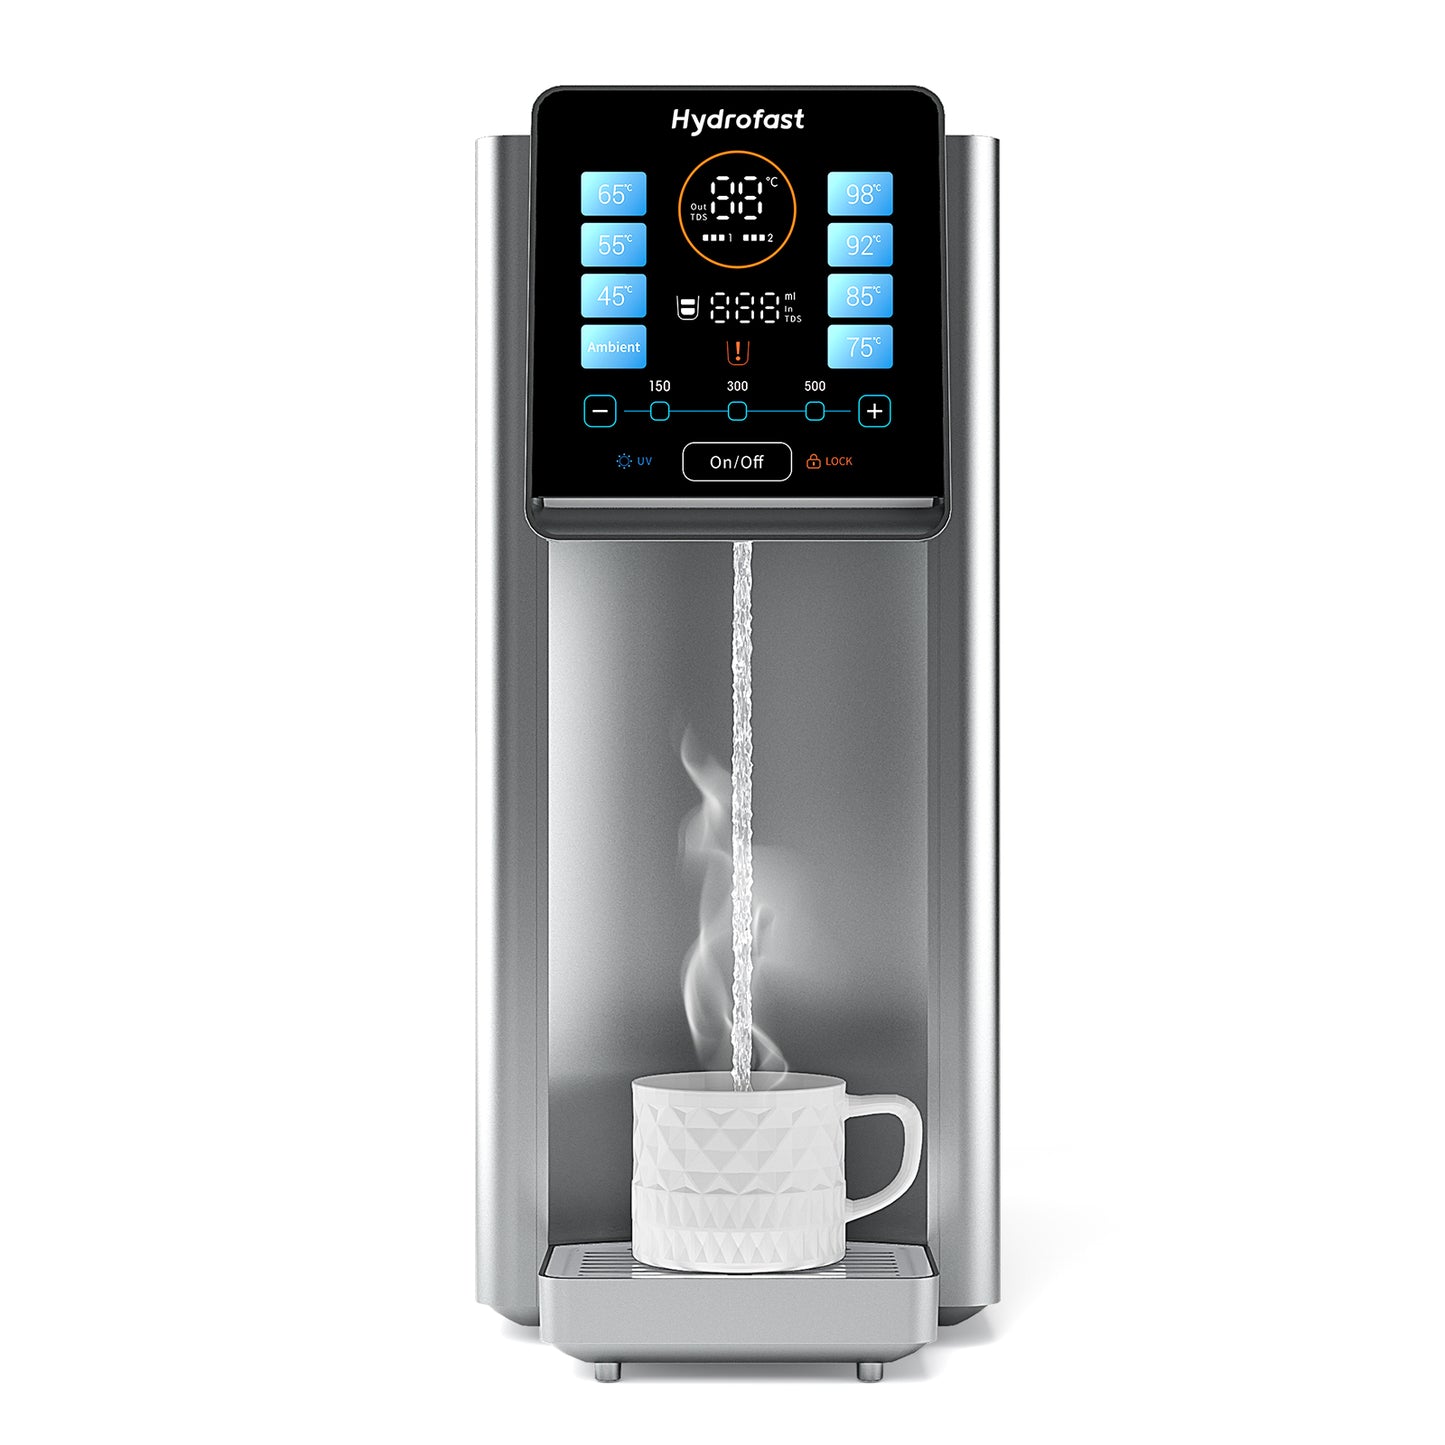
- Smart Display Panel (4): The control panel for operating the machine and monitoring its status.
- Water Collection Tray (7): This removable tray at the base collects any drips and is easy to clean.
- Water Intake/Stop Button (5): The button to start or stop water dispensing.
- Power Cord (10): The cord that connects your machine to the power supply.
Important Safety Instructions
- Do not disassemble the purifier to prevent leaks or damage.
- Avoid direct sunlight or placing the machine in environments below 0°C.
- Keep flammable or explosive materials away from the machine.
- Be cautious of burns, as the machine has a heating function.
- Only use brand-specific filters for proper operation.
Step-by-Step: Installation and First-Time Activation
The W100 is a countertop model, meaning installation is incredibly simple. Follow these steps carefully for a successful first run.
What You'll Need: Municipal tap water and a heat-resistant container (approx. 2L).
Step 1: Prepare the Machine
Place the unit on a stable, level kitchen counter.
- Install the drip tray (water collection tray) onto the base of the machine.
- Remove the raw water tank by lifting it off the unit. Rinse it thoroughly with clean water.
- Fill the rinsed raw water tank with municipal tap water up to the MAX water level line.
- Carefully place the tank back onto the machine. You should hear a definitive "click" when it's securely in place.
- Plug the power cord into a standard 220-240V outlet.


Step 2: Initial Purification and Flushing
- Place your heat-resistant container on the drip tray.
- The machine will automatically begin the water production process. This takes approximately 5 minutes.
- Watch the smart display panel. Once the Purified Water Volume indicator shows two full bars, the internal purified water tank is full.
- Now, it’s crucial to flush the system. Long press the "On/Off" (water dispensing) button for 5 seconds. This will activate the drainage mode and empty the purified water tank. This step flushes any initial carbon particles or preservatives from the new filters.

Step 3: Heat Function Activation
- The machine will now prompt you to change the water (the raw water tank is likely low or empty).
- Remove the raw water tank, empty it, and refill it with fresh tap water to the MAX line. Reinstall it on the machine.
- Place your container back on the drip tray. The machine will now begin heating the water.
- Let it run until the display shows 98°C and you may hear a dripping sound. This ensures the heating system is primed.
Step 4: Final Preparation
- Dispense some 45°C hot water until the machine prompts for another water change.
- Once again, empty the raw water tank and refill it with fresh tap water to the highest level. Reinstall it.
- The machine will run one more purification cycle. Once it stops, the status indicators will return to standby mode.
Your Hydrofast W100 is now activated and ready for daily use!
⚡ Pro Tip: New machines might produce bubbles during the initial backwash process, causing the water to look temporarily cloudy. This is a normal physical phenomenon and will clear up within minutes. The water is perfectly safe to use.
Understanding the Smart Display & Controls
The intuitive control panel is your command center. Here’s how to use it:
- LOCK Button: Long press for 5 seconds to lock the control panel, preventing accidental button presses. Long press again to unlock.
- UV Button: Long press for 5 seconds to enable the automatic UV sterilization cycle, which runs for 15 minutes every hour to keep your water extra pure.
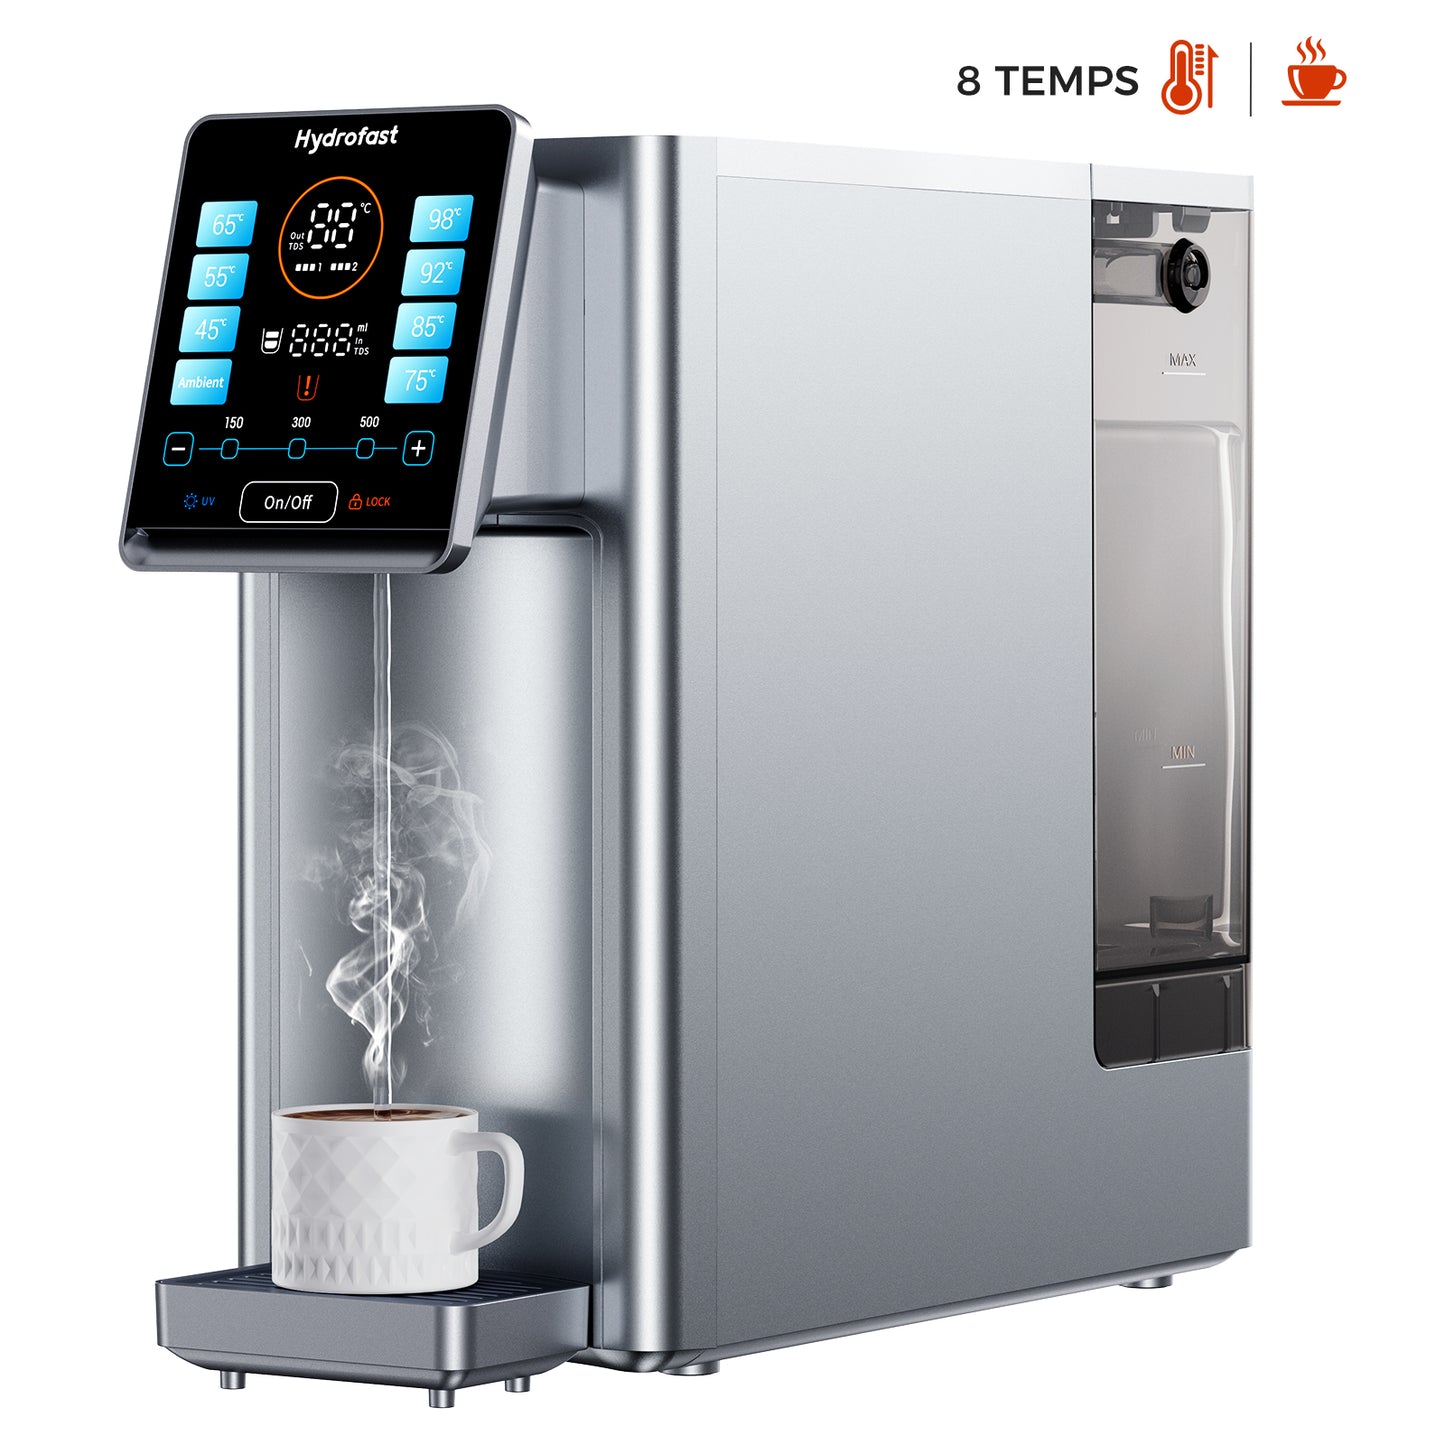
- Temperature Buttons (⌃ and ⌄): Short press to cycle through the preset temperatures: 45°C, 65°C, 85°C, 98°C. The selected temperature will light up solid.
- On/Off (Water Dispensing) Button:
Short Press: Start or stop dispensing water.
Long Press (5 sec): Activates drainage mode to empty the purified water tank (useful for cleaning or extended non-use).
- Volume Buttons ( - and + ):
Short Press: Adjust your desired water volume through 15 settings (50, 100, 150... up to 999mL). The machine will automatically stop dispensing when the set volume is reached.
Long Press (3 sec): These are also the hidden filter reset buttons. Hold "-" for Filter 1 and "+" for Filter 2. More on this in the maintenance section.
Decoding the Indicator Lights
Raw Water Tank Level Indicator: This light turns on when the raw water tank is at its minimum level, indicating that you need to refill it with tap water to the maximum level.
Raw Water TDS Indicator: In standby mode, this displays the TDS (Total Dissolved Solids) of the tap water. When the machine is working, it shows the volume of water being dispensed in milliliters.
Purified Water TDS Indicator: In standby mode, this displays the TDS of the purified water after filtration. When the machine is working, it displays the water temperature.
Purified Water Volume Indicator: This icon indicates the current volume of purified water in the tank.
Filter Cartridge Life Indicator: This displays the remaining lifespan of each filter cartridge. When no bars are lit, the corresponding filter needs to be replaced.
Essential Cleaning and Maintenance
Regular maintenance ensures your W100 continues to deliver pristine water for years to come.
Cleaning the Water Tanks
- Always start by emptying the purified water tank: Long press the "On/Off" button for 5 seconds until water stops flowing. Unplug the unit.
- Cleaning the Purified Water Tank: Remove the raw water tank. Slide the top cover backward and open the lid. Wipe the inside and lid with a clean, soft cloth.
- Cleaning the Raw Water Tank: Remove the tank, clean it with a food-safe cleaner, rinse thoroughly, and refill with water.

Cleaning the Drip Tray
Simply lift the drip tray off its base, empty it, wash it with soap and water, dry it, and snap it back into place.
Replacing the Filter Cartridges
For optimal performance, replace the filters on schedule:
- HF03 (Filter 1) - 4-in-1 Composite Filter: Replace every 9 months.
- HF02 (Filter 2) - RO Membrane Filter: Replace every 12 months.
Replacement Steps:
- Ensure the purified water tank is empty (use the drainage mode) and the unit is unplugged.
- Remove the raw water tank.
- Slide the machine's top cover backward to access the filter housings.
- To remove old filters: Rotate each filter counterclockwise to unlock and lift it out.
- To install new filters: Place the new filter in the slot and rotate it clockwise until it locks into place.


CRUCIAL: Resetting the Filter Indicator After replacing a filter, you must reset its life indicator.
- For Filter 1 (HF03): Long press the "—" button for 3 seconds until its indicator flashes. Long press "—" for 3 seconds again to confirm reset.
- For Filter 2 (HF02): Long press the "+" button for 3 seconds until its indicator flashes. Long press "+" for 3 seconds again to confirm reset.
The machine will beep and the indicator bars will return to full, confirming the reset is complete.
Troubleshooting Common Issues
| Issue | Possible Cause | Solution |
|---|---|---|
| Display not lit, machine does not produce water | Power not connected | Check and reconnect the power supply. |
| Low water flow or no water output | Filter expired or clogged | Replace the filter cartridge. |
| Voltage mismatch with rated value on label | Use a power source matching the rated value. | |
| Raw water TDS exceeds 999, pump not working | Replace water in the raw water tank. | |
| Failure to replace raw water on time results in air intake by the pump | Remove the raw water tank, replace it with tap water, pause the machine for a few minutes, then unscrew and reinstall the filter. | |
| Raw water temperature too low | Replace water within the 5°C-38°C range. | |
| Odor | Filter expired | Replace the filter cartridge. |
| Unit unused for an extended period | Drain and clean the water tank and raw water tank. | |
| TDS level remains at 30 | Raw water not replaced | Replace raw water and purify again. |
| RO filter clogged | Replace the RO filter cartridge. | |
| No response when dispensing water | Insufficient water in purified water tank | Wait until the water purification reaches one level before drawing water. |
Your Warranty Covered
Your Hydrofast W100 is covered by a 2-year warranty on the entire machine (excluding filters) from the date of purchase. Keep your receipt as proof of purchase. The warranty does not cover damages from improper use, force majeure, or commercial use.
Enjoy Pure Water, Simplified
The Hydrofast W100 Countertop RO System combines powerful filtration with unparalleled convenience. By following this guide, you can ensure it operates at peak performance, providing you and your family with clean, safe, and delicious water for every need—from a refreshing cold drink to a perfect cup of tea.
Have more questions? Feel free to reach out to our customer support team at support@hydrofast.com.